


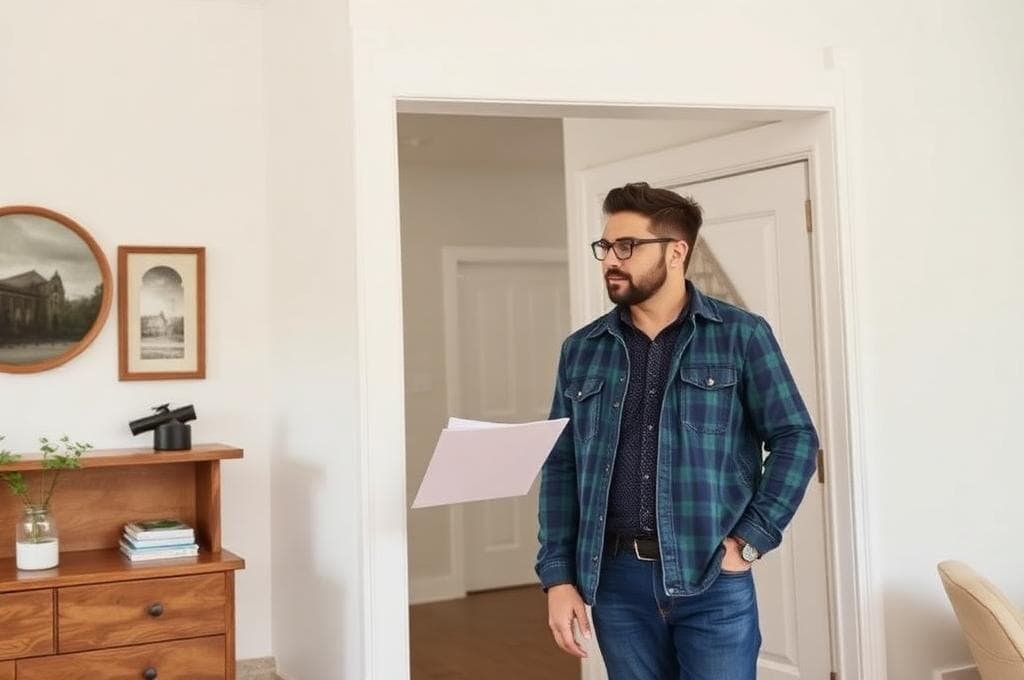
The final walkthrough happens 24 hours before closing. It's your last chance to verify the home is in the condition you agreed to and promised repairs are complete. Don't skip this step.
Key Takeaways
- Final walkthrough happens 24 hours before closing to verify home condition matches agreement
- Check that promised repairs are complete and agreed-upon items are still present
- Test major systems (lights, HVAC, plumbing, appliances) to confirm function
- Document any new damage or missing items with photos
- Don't close if issues are found—demand repairs, replacements, or credits first
What Is the Final Walkthrough?
Closing day marks one of life's biggest achievements. You deserve to know exactly what's happening at every step so you can feel confident, not overwhelmed.
The final walkthrough is your last inspection of the property before closing. It typically happens 24 hours before your closing appointment. You walk through the entire home with your real estate agent, taking 30-45 minutes to verify everything is as agreed.
The purpose: Confirm the home is in the condition you agreed to, promised repairs are complete, appliances/fixtures are still there (as agreed), and no new damage has occurred since your inspection.
This is not a second inspection. You're not looking for new problems. You're verifying that nothing has changed and everything matches your contract.
What to Check During the Walkthrough
Bring a checklist and your original inspection report. Here's what to verify:
- Agreed-upon repairs: If the seller agreed to fix the loose railing, verify it's fixed. If they agreed to repair the roof leak, check that it's done. Look for contractor work and quality.
- Included items: Your contract said the chandelier, washer, and dryer stay. Verify they're still there. Open cabinets to confirm light fixtures are installed.
- Major systems function: Test lights (all rooms and closets), check HVAC (turn on AC and heat to verify function), run faucets in all bathrooms and kitchen, flush toilets, test garage door.
- Doors and windows: Open and close all doors and windows. Verify they function smoothly. Check for new damage like cracks or stuck windows.
- Walls and ceilings: Look for new holes, cracks, water stains, or damage since your inspection. Check walls and ceilings in all rooms.
- Floors and baseboards: Look for new damage, stains, or marks. Verify baseboards are intact.
- Appliances: If included, verify they're still there and function. Open oven, run dishwasher briefly, test refrigerator temperature.
- Exterior: Check the front door, back door, deck/patio for damage. Verify lawn and landscaping are maintained.
What Happens If You Find Problems
Scenario 1: Promised repair wasn't completed. Example: Seller agreed to fix the loose railing. It's still loose. Immediately contact your agent and notify the seller. They must complete the repair or provide a credit before closing. You don't close until this is resolved.
Scenario 2: An agreed-upon item is missing. Example: The contract said the built-in shelving unit stays. It's gone. The seller removed it. Demand the seller replace it or provide a credit. Don't close until resolved.
Scenario 3: New damage since inspection. Example: There's a large hole in the drywall you didn't see at inspection. The seller or their movers caused it. Document it and demand repair or credit.
Scenario 4: A major system is broken. Example: The HVAC doesn't turn on during your walkthrough. This is a serious problem. Don't accept the home in this condition. Demand the seller fix it or provide a substantial credit.
For any of these scenarios, your leverage is strong: if you don't close, the seller faces penalties and delay. Most sellers will agree to fix issues or provide credits rather than kill the deal.
The Final Walkthrough Checklist
Before your walkthrough, prepare a checklist:
- Copy of your purchase contract (verify all agreed items are in place)
- Copy of your inspection report (verify agreed repairs are done)
- List of agreed-upon items staying with home (chandelier, washer, dryer, etc.)
- Camera or phone to document any issues
- Flashlight (to check dark areas and closets)
- Tape measure (to verify agreed-upon furniture fits if relevant)
Timing and Logistics
Your final walkthrough typically happens 24 hours before closing. Your agent will coordinate with the seller's agent to set a time. It's usually 30-45 minutes.
If you can't make the walkthrough, your agent can do it for you. However, doing it yourself is better. You want to verify everything personally.
Bring your agent. They know your contract, can reference the inspection report, and can communicate issues to the seller's agent immediately if problems are found.
After the Walkthrough: Documentation
If everything looks good, great. Sign off and proceed to closing.
If issues are found, document them immediately. Take photos. Get written communication from your agent to the seller's agent about what needs to be resolved. Get written confirmation from the seller that issues will be fixed or credits will be provided.
Don't proceed to closing without resolution. Your down payment and earnest money are at stake. Make sure the home is in the condition you agreed to pay for.
The Difference Between Final Walkthrough and Final Inspection
Don't confuse these. A final walkthrough (24 hours before closing) is a quick verification. A final inspection (at your request) is a full re-inspection, similar to your initial inspection, and costs $300-$500.
You don't typically need a final inspection unless major issues were found during the walkthrough. A final walkthrough is standard and expected.
Have questions about the final walkthrough your last chance checklist before closing? The team at Thrive.RealEstate is here to help — no obligation, no pressure. We believe everyone deserves expert guidance through life's biggest real estate decisions.
What to Do Next
- Ask your agent to schedule final walkthrough 24 hours before closing
- Review your purchase contract to confirm all agreed items and repairs
- Prepare a checklist of items to verify
- Plan to spend 30-45 minutes at the walkthrough
- Bring your phone to document any issues
- Test major systems (lights, HVAC, plumbing) during walkthrough
- Verify all repairs promised by seller are complete
- Confirm all agreed-upon items (appliances, fixtures) are present
- Document any issues photographically
- Get written confirmation of resolution before proceeding to closing
Action Checklist
HomeBase — Clear answers. Real people.
What to do next
This article is part of Buying my first home, step 6: What happens at closing, and what do I bring?